DIY Dry Shampoo Recipe for Every Hair Color: Natural and Simple
Let me tell you about the moment I became a dry shampoo convert.
It was a Wednesday morning, I had three children who needed to be somewhere in twenty minutes, my middle daughter’s hair looked like she had been dunking for apples in a vat of olive oil, and I had exactly zero time for her to wash it. In desperation, I grabbed some cornstarch, dusted it on her roots, and prayed.
The good news? It worked. The bad news? She spent the rest of the day looking like she’d aged forty years, white powder visible at the hairline every time I glanced her way.
There had to be a better way.
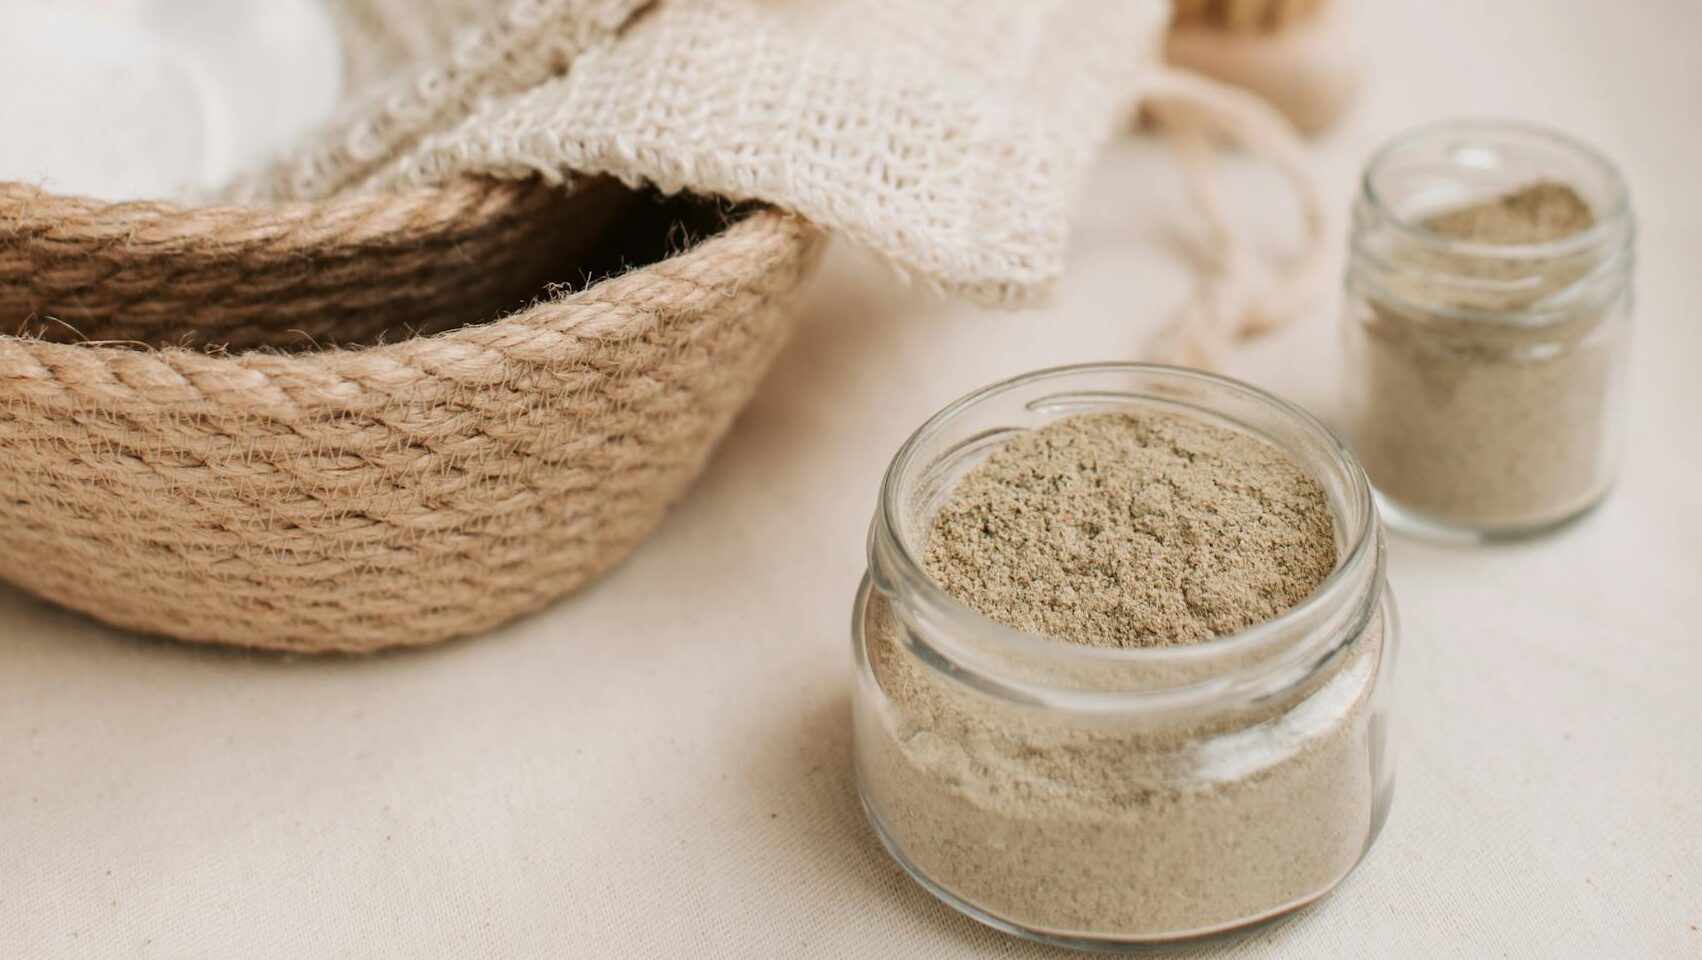
Turns out, there is. And it’s been sitting in my pantry all along, costs pennies to make, takes about three minutes to mix up, and (here’s the best part) doesn’t contain any of the questionable ingredients found in those aerosol cans at the drugstore.
If you’ve been curious about making your own dry shampoo but weren’t sure where to start, you’re in the right place. I’m going to walk you through everything: why homemade is better, how to customize it for your hair color, the best way to apply it, and how to store it so it lasts.
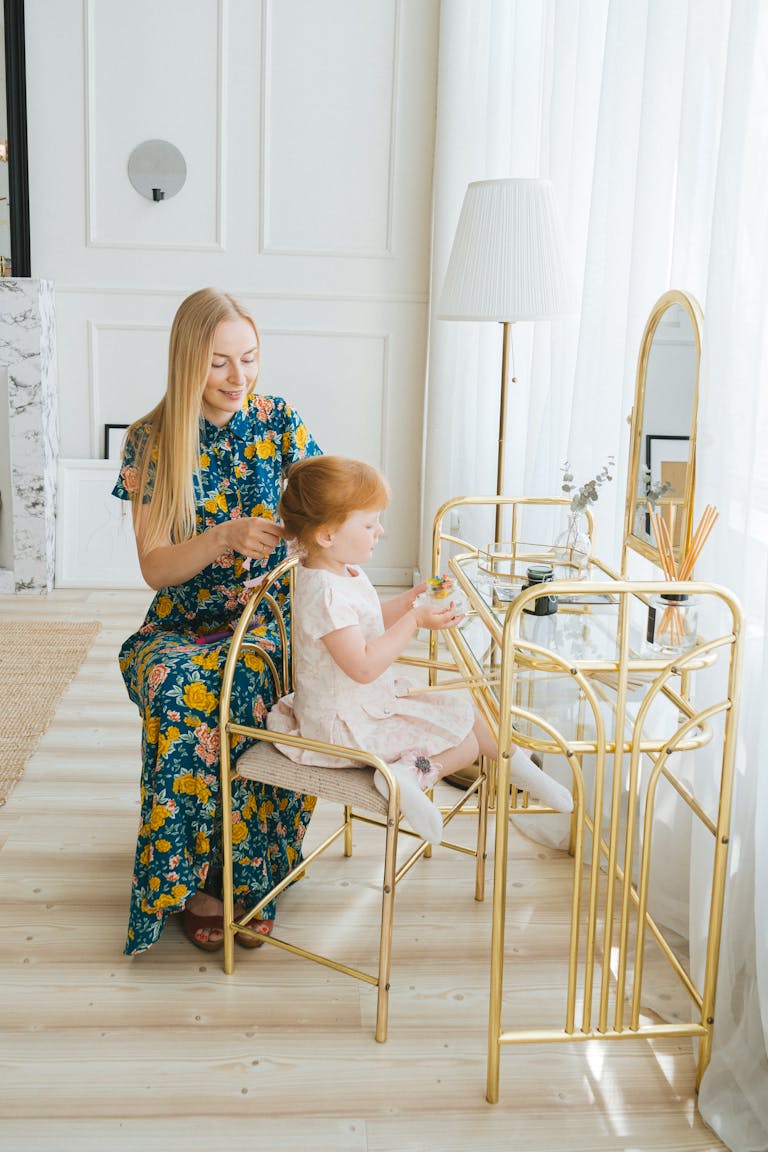
Plus, this makes a wonderful mother-daughter project. My girls and I spent a Saturday afternoon mixing up batches for each of us, labeling our little jars, and feeling quite pleased with ourselves. It’s the kind of simple, practical skill that serves them well and gives us time together in the process.

Why Make Your Own Dry Shampoo?
Before we get to the recipe, let’s talk about why you might want to skip the store-bought versions altogether.
The ingredient issue is real. If you’ve picked up a can of commercial dry shampoo lately and read the label, you’ve probably seen ingredients like isobutane, propane, butane, and aluminum starch. These propellants are what make the spray work, but they’re also petroleum products. And in recent years, we’ve learned they can carry some unwelcome hitchhikers.
In 2022, major brands including Dove, TRESemmé, Suave, Pantene, and Herbal Essences issued voluntary recalls of their aerosol dry shampoos after testing revealed benzene contamination. Benzene is classified as a human carcinogen, and the contamination was traced to those same propellants that make the spray mechanism work.
Now, I’m not one to panic over every headline. But when I can easily make an alternative that works just as well (honestly, better), costs a fraction of the price, and contains nothing but ingredients I can pronounce? That seems like a reasonable choice.
The cost savings are significant. A quality natural dry shampoo from the store can run $15-25 for a small container. My homemade version costs less than a dollar per batch, and I’m using ingredients I already have on hand.
Customization is simple. This might be my favorite benefit. With store-bought dry shampoo, brunettes are often left with a grayish cast that’s visible at the roots. Those of us with lighter hair (ahem, gray) can get away with white powder, but our ginger-haired sisters end up looking like a piece of cinnamon toast. With a homemade recipe, you can adjust the color to match your exact shade. No more visible residue.

Understanding How Dry Shampoo Works
The principle behind dry shampoo is beautifully simple: certain powders absorb oil.
Your scalp naturally produces sebum, which is actually a good thing. Sebum protects your hair and keeps it moisturized. The problem is when sebum production outpaces your washing schedule, leaving hair looking flat, greasy, and limp.
Dry shampoo works by applying an absorbent powder to your roots, where the powder soaks up that excess oil. The result is hair that looks freshly washed without actually being washed.
This is good news for hair health, by the way. Most stylists and dermatologists agree that washing hair daily isn’t ideal. It strips away natural oils, which prompts your scalp to produce even more oil to compensate, which leads to more washing, and the cycle continues. Stretching washes to every two to four days is better for most hair types.
Dry shampoo is the bridge that makes this possible. It refreshes your roots on the in-between days so you can confidently go longer between washes.
The Base Ingredients
Let’s talk about what goes into homemade dry shampoo and why each ingredient matters.
Arrowroot Powder or Non-GMO Cornstarch
These are your primary oil absorbers. Both are fine, white powders that do an excellent job soaking up excess sebum. Arrowroot powder has a slightly silkier texture that some people prefer, and it’s naturally gluten-free (important if you have sensitivities). Non-GMO cornstarch works equally well and is more readily available.
Either one will work beautifully. Use what you have or what you can find easily.
Baking Soda
Baking soda serves two purposes. First, it adds extra oil-absorbing power. Second, it neutralizes odors. If your hair tends to pick up smells (cooking odors, campfire smoke, or just that day-two scalp smell), the baking soda helps freshen things up.
A note of caution: some people find baking soda irritating to their scalps. If you have a sensitive scalp, start with a smaller amount or omit it entirely. The recipe works fine without it; you just lose the odor-neutralizing benefit.
For Brunettes: Unsweetened Cocoa Powder
This is the magic ingredient for anyone with brown hair. Pure, unsweetened cocoa powder (the kind you’d use for baking) adds a brown tint to the mixture so it blends seamlessly with darker hair instead of leaving a visible white cast.
The amount you add depends on the darkness of your hair. Light brunettes need less; those with very dark brown or black hair need more. I’ll give you starting points in the recipe, but don’t be afraid to adjust.
Bonus: cocoa powder smells wonderful. You may catch faint whiffs of chocolate throughout the day, which I consider a feature rather than a bug.
For Redheads: Cinnamon Powder
Ground cinnamon provides a warm, reddish-brown tint that blends beautifully with auburn and ginger hair. It has the added benefit of promoting scalp circulation.
One important note: cinnamon is considered a “hot” spice and can cause scalp irritation in some people, especially if used in large amounts. Start with a smaller quantity and work up. If you notice any tingling or discomfort, reduce the amount or substitute cocoa powder instead.
Optional: Essential Oils
Essential oils serve two purposes in dry shampoo: fragrance and scalp benefits.
For a fresh, clean scent, consider lavender (calming and soothing), peppermint (energizing and fresh), or lemon (bright and clean).
For hair health benefits, rosemary essential oil is particularly noteworthy. Studies have shown that rosemary oil may support hair growth by improving circulation to the scalp. Research published in SKINmed found that rosemary oil performed comparably to minoxidil (the active ingredient in Rogaine) for treating hair loss, with fewer side effects. Adding a few drops to your dry shampoo means you’re getting those benefits with every application.
Cedarwood and tea tree oil are other good choices, particularly if you deal with dandruff or an itchy scalp.
The Recipes
Now for the practical part. Here are recipes for light hair, dark hair, and red hair. Each makes enough to fill a small jar that should last several weeks with regular use.
Light Hair (Blonde, Light Brown, Gray, or White)
Ingredients:
- 2 tablespoons arrowroot powder or non-GMO cornstarch
- 1 tablespoon baking soda (optional, or reduce to 1 teaspoon for sensitive scalps)
- 5-10 drops essential oil of choice (optional)
Instructions: Combine the arrowroot powder and baking soda in a small bowl. Whisk together to remove any clumps. If using essential oils, add them drop by drop and stir thoroughly to distribute evenly. We use a chopstick. Transfer to an airtight container for storage.
Medium to Dark Brown Hair
Ingredients:
- 2 tablespoons arrowroot powder or non-GMO cornstarch
- 1 tablespoon baking soda (optional)
- 1-2 tablespoons unsweetened cocoa powder (adjust to match your hair shade)
- 5-10 drops essential oil of choice (optional)
Instructions: Start by combining the arrowroot powder, baking soda, and one tablespoon of cocoa powder. Whisk thoroughly to blend. Check the color and add more cocoa powder as needed to match your hair. For very dark brown or black hair, you may need the full two tablespoons or even a bit more. Add essential oils if using and stir well. Transfer to an airtight container.
Red or Auburn Hair
Ingredients:
- 2 tablespoons arrowroot powder or non-GMO cornstarch
- 1 tablespoon baking soda (optional)
- 1-2 teaspoons ground cinnamon (start with less, add more as needed)
- 5-10 drops essential oil of choice (optional)
Instructions: Combine arrowroot powder and baking soda in a small bowl. Add one teaspoon of cinnamon and whisk thoroughly. Check the color against your hair and add more cinnamon if needed for a closer match. Remember that cinnamon can be irritating, so don’t overdo it. Add essential oils if using and stir to combine. Transfer to an airtight container.
Custom Blending Tips
Hair color is rarely one uniform shade, so don’t be afraid to experiment. Light brunettes with red undertones might try a combination of cocoa powder and cinnamon. Those with dark blonde hair that leans ashy might need just a touch of cocoa. Mix, test on a small section, and adjust as needed.

How to Apply Dry Shampoo
Application technique makes all the difference between invisible, effective dry shampoo and visible white (or brown) powder sitting on your hair. Here’s how to get the best results.
Gather your tools. You’ll need your dry shampoo and a clean makeup brush. A kabuki brush works wonderfully because it’s soft, fluffy, and holds powder well. A large blush brush or powder brush also works. In a pinch, you can use your fingertips, though a brush gives more even, controlled application.
Section your hair. Clip the top layers up and out of the way so you can access your roots easily. You’ll work in sections from the bottom up.
Apply sparingly. Dip your brush into the dry shampoo and tap off the excess. Less is more here. You can always add more, but over-application leads to buildup and a chalky look. Gently dab or stipple the powder onto your roots, focusing on the areas that tend to get oiliest (usually the crown, temples, and nape of the neck).
Massage it in. After applying, use your fingertips to massage the powder into your scalp. This helps distribute it evenly and ensures it makes contact with the oils it needs to absorb.
Wait a few minutes. Give the powder time to work. Two to five minutes is usually sufficient, though if you have very oily hair, longer is better.
Brush or shake out the excess. Use a brush to distribute any remaining visible powder through your hair, or flip your head upside down and shake vigorously. The powder should disappear into your hair, leaving no visible residue.
Style as usual. Your hair should now have more volume at the roots and look significantly fresher. Style as you normally would.

Pro Tips for Best Results
Apply at night. For even better results, apply your dry shampoo before bed. It has all night to absorb oils while you sleep, and by morning, any visible residue has had time to blend in. You’ll wake up with fresh-looking hair ready to style.
Use it proactively. Some women apply dry shampoo right after washing and drying their hair, even when it’s clean. The powder helps absorb oils as they’re produced, keeping hair looking fresh longer.
Don’t overuse. Dry shampoo is a tool, not a replacement for washing. If you’re using it daily for more than two or three days in a row, it’s time for an actual shampoo. Buildup can clog hair follicles and lead to scalp issues.
Blend, blend, blend. If you notice visible powder, keep blending. Use your fingers, a brush, or even a blow dryer on a cool setting to help the powder disappear into your hair.

Washing It Out
When it’s time to actually wash your hair, here’s how to ensure all that dry shampoo comes out completely.
Wet your hair thoroughly. Give your scalp a good soak before applying shampoo.
Focus shampoo on your scalp. Apply shampoo directly to your roots and massage well. The goal is to lift all that powder (along with the oils it has absorbed) off your scalp.
Consider a double cleanse. If you’ve been using dry shampoo for several days, you may want to shampoo twice. The first wash loosens everything up; the second ensures it’s all removed.
Rinse completely. Make sure all shampoo (and with it, the dry shampoo residue) is rinsed away.
Condition as normal. Focus conditioner on your ends rather than your roots.
If you notice your hair feels coated or looks dull even after washing, that’s a sign of buildup. A clarifying shampoo once a week or so can help reset things.
Storage Tips
Homemade dry shampoo is shelf-stable because it contains no water or perishable ingredients. Stored properly, it should last six months to a year.
Use an airtight container. A small mason jar, an empty spice jar with a shaker top, or a cosmetic jar with a tight lid all work well. The shaker jar is particularly convenient for application.
Keep it dry. Store your dry shampoo away from humidity. The bathroom might seem logical, but all that steam can cause clumping. A bedroom drawer or linen closet is better.
Label it. If you’re making different versions for different family members (blonde daughter, ginger girl), label clearly so no one ends up with the wrong shade.
Watch for clumping. If your dry shampoo develops clumps, you can break them up with a fork, a chopstick, or sift the powder through a fine mesh strainer.

A Mother-Daughter Project
I mentioned earlier that this makes a wonderful activity to share with your daughters, and I want to expand on that thought.
There’s something special about sitting down together with simple ingredients and creating something useful. It doesn’t require expensive supplies or complicated instructions. A tween can do this entirely on her own; even younger daughters can help measure and stir with supervision.
Beyond the practical skill of making your own beauty product, this project opens doors for good conversations. You might talk about why we don’t need to chase every product the beauty industry pushes on us. Or discuss how nice it is to know exactly what’s in the things we put on our bodies. Or simply enjoy the process of creating something together.
My girls have also gotten creative with packaging. They’ve decorated jars for friends as birthday gifts, made matching labels for each family member’s version, and experimented with different essential oil blends. One daughter prefers peppermint for the tingly, fresh feeling; another chose lavender because it helps her feel calm before bed.
These small moments of working side by side, learning practical skills, and taking care of our bodies with intention? They add up to something meaningful.
Troubleshooting Common Issues
“My hair still looks greasy after applying.” You may not have used enough product, or you may not have let it sit long enough. Try applying more generously and waiting five to ten minutes before brushing out.
“I can see white (or brown) residue in my hair.” Either you’ve applied too much, or you need to blend more thoroughly. Try flipping your head upside down and shaking vigorously, then brushing through. If you’re a brunette seeing white residue, add more cocoa powder to your next batch.
“The powder made my scalp itch.” Baking soda is the most likely culprit. Try making a batch without it, or significantly reduce the amount. If you’re using cinnamon, it may be causing irritation. Reduce the quantity or switch to cocoa powder.
“It’s not absorbing oil as well as I expected.” Make sure you’re applying directly to your scalp/roots, not just to your hair. The powder needs to contact the oils to absorb them. Also ensure you’re massaging it in well.
“My hair feels heavy or coated.” This suggests buildup. Make sure you’re washing thoroughly when you do shampoo, and consider using a clarifying shampoo periodically.
A Final Thought
Proverbs 31:27 tells us the virtuous woman “watches over the affairs of her household.” Sometimes watching over our households means big, weighty decisions. Other times, it means small, practical choices like making a simple powder that keeps our hair looking nice without exposing our families to unnecessary chemicals.
Both matter.
I love finding these little ways to care for my home and my daughters with intention. A jar of homemade dry shampoo won’t change the world, but it represents something bigger: the decision to pay attention, to choose wisely, and to steward well the bodies God has given us.
Plus, it really does work beautifully. Your hair will thank you.
Have you made your own dry shampoo before? What’s your favorite essential oil blend? Share in the comments!
Related Posts:
- Hair Care Between Washes: A Complete Guide]
- Natural Hair Care Products Worth Trying]
- Simple Self-Care Routines for Busy Moms]


